


Table of Contents
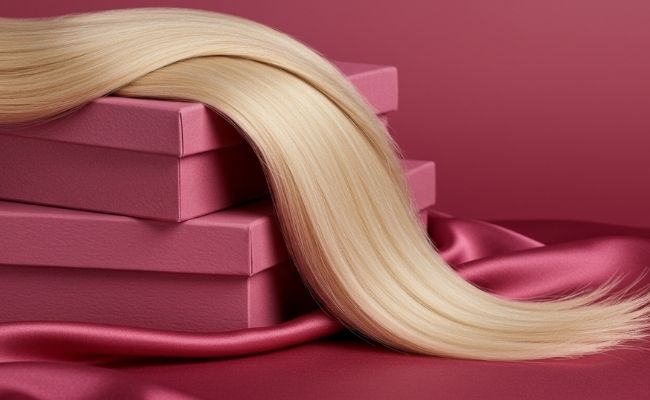
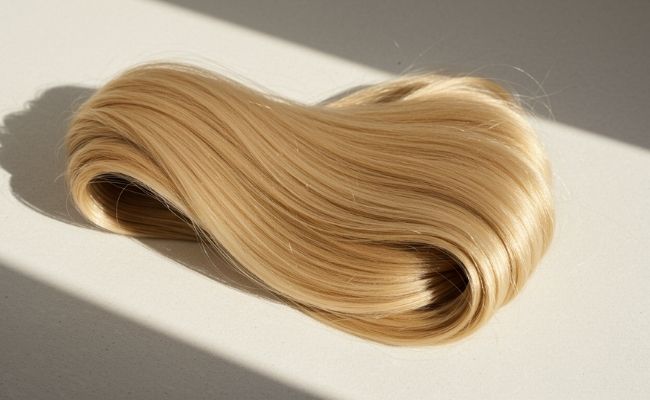
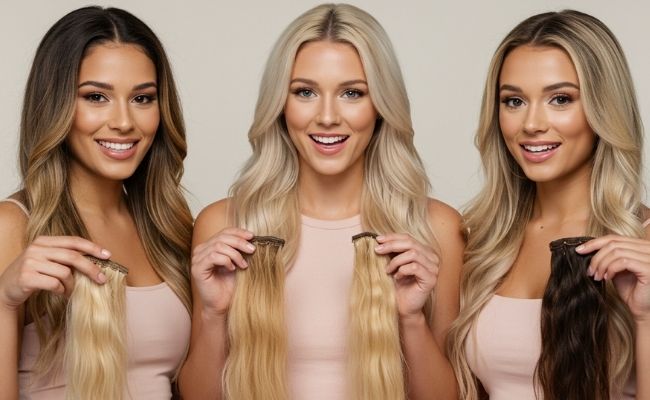
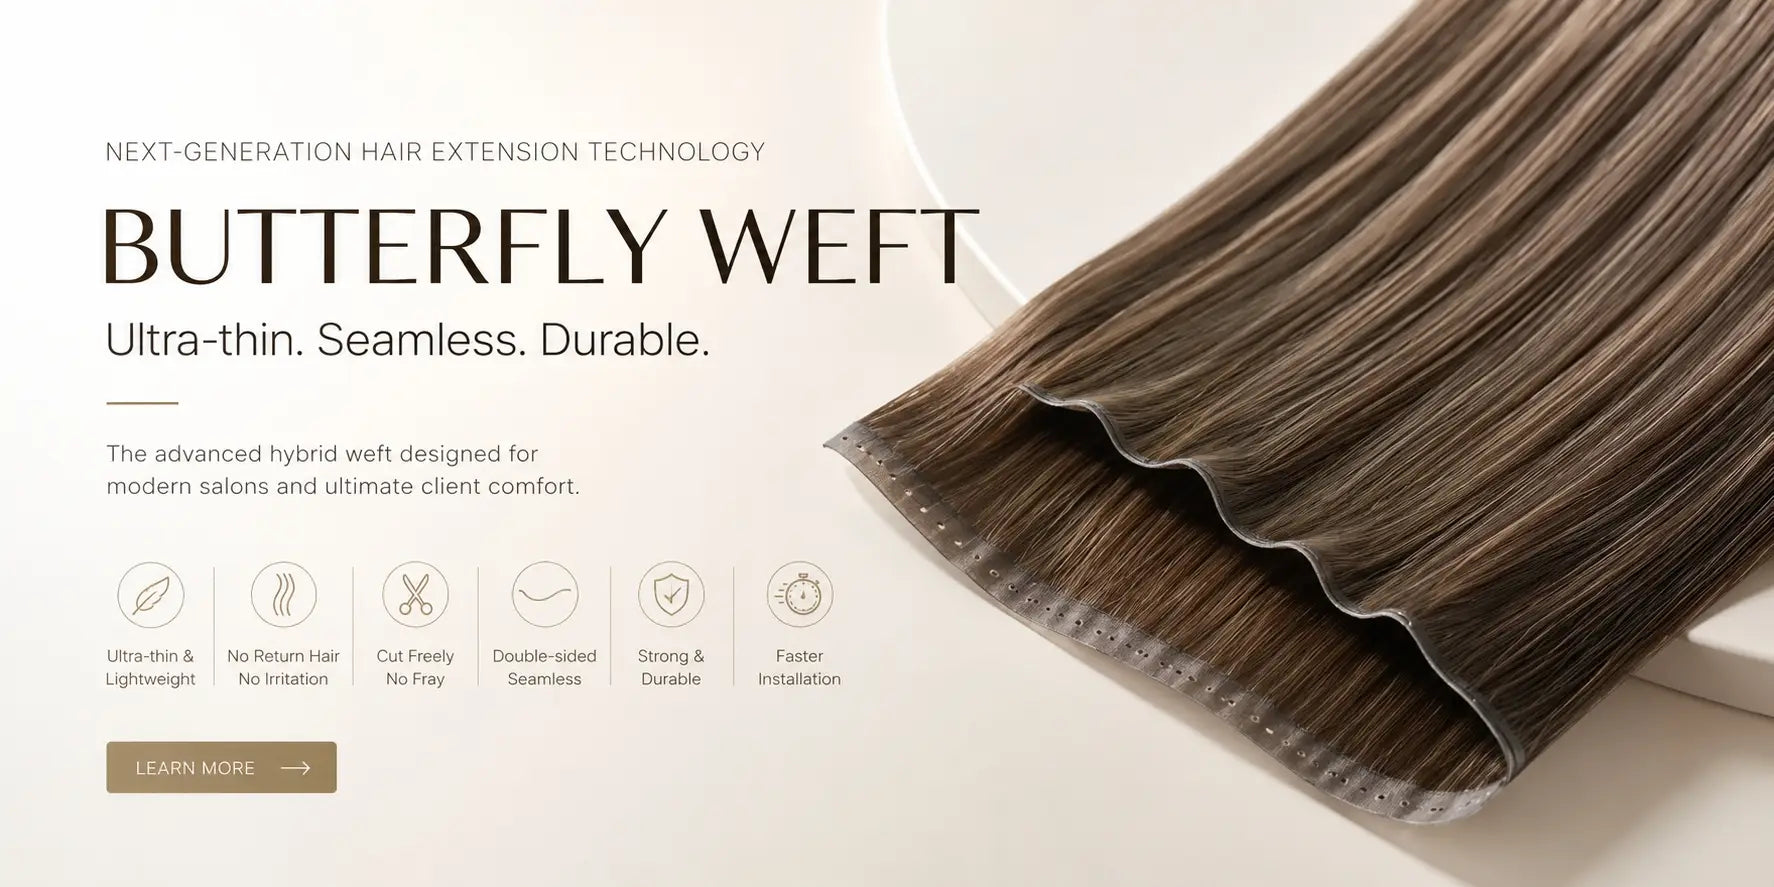
Butterfly Weft hair extensions are becoming one of the most popular choices for salons, stylists, and hair extension lovers because they combine comfort, flexibility, durability, and a seamless finish in one modern weft system.
If you are wondering how to apply Butterfly Weft correctly, this guide will walk you through everything you need to know — from preparation to installation, blending, maintenance, and professional tips.

Who Is Butterfly Weft Best For?
- Clients wanting natural volume
- Thin or medium-density hair
- Luxury salon installs
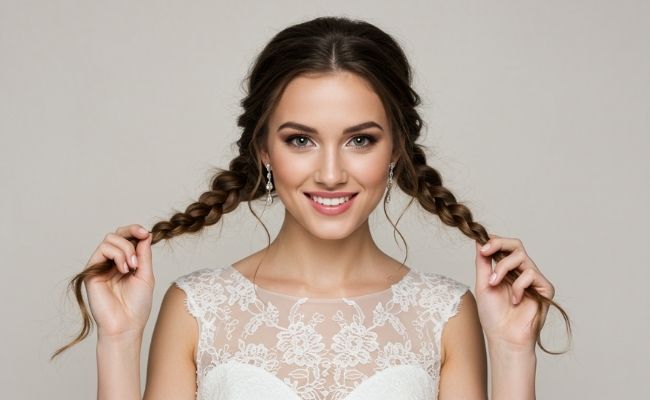
- Brides and special event styling
- Clients seeking lightweight extensions
- Long-term sew-in wearers
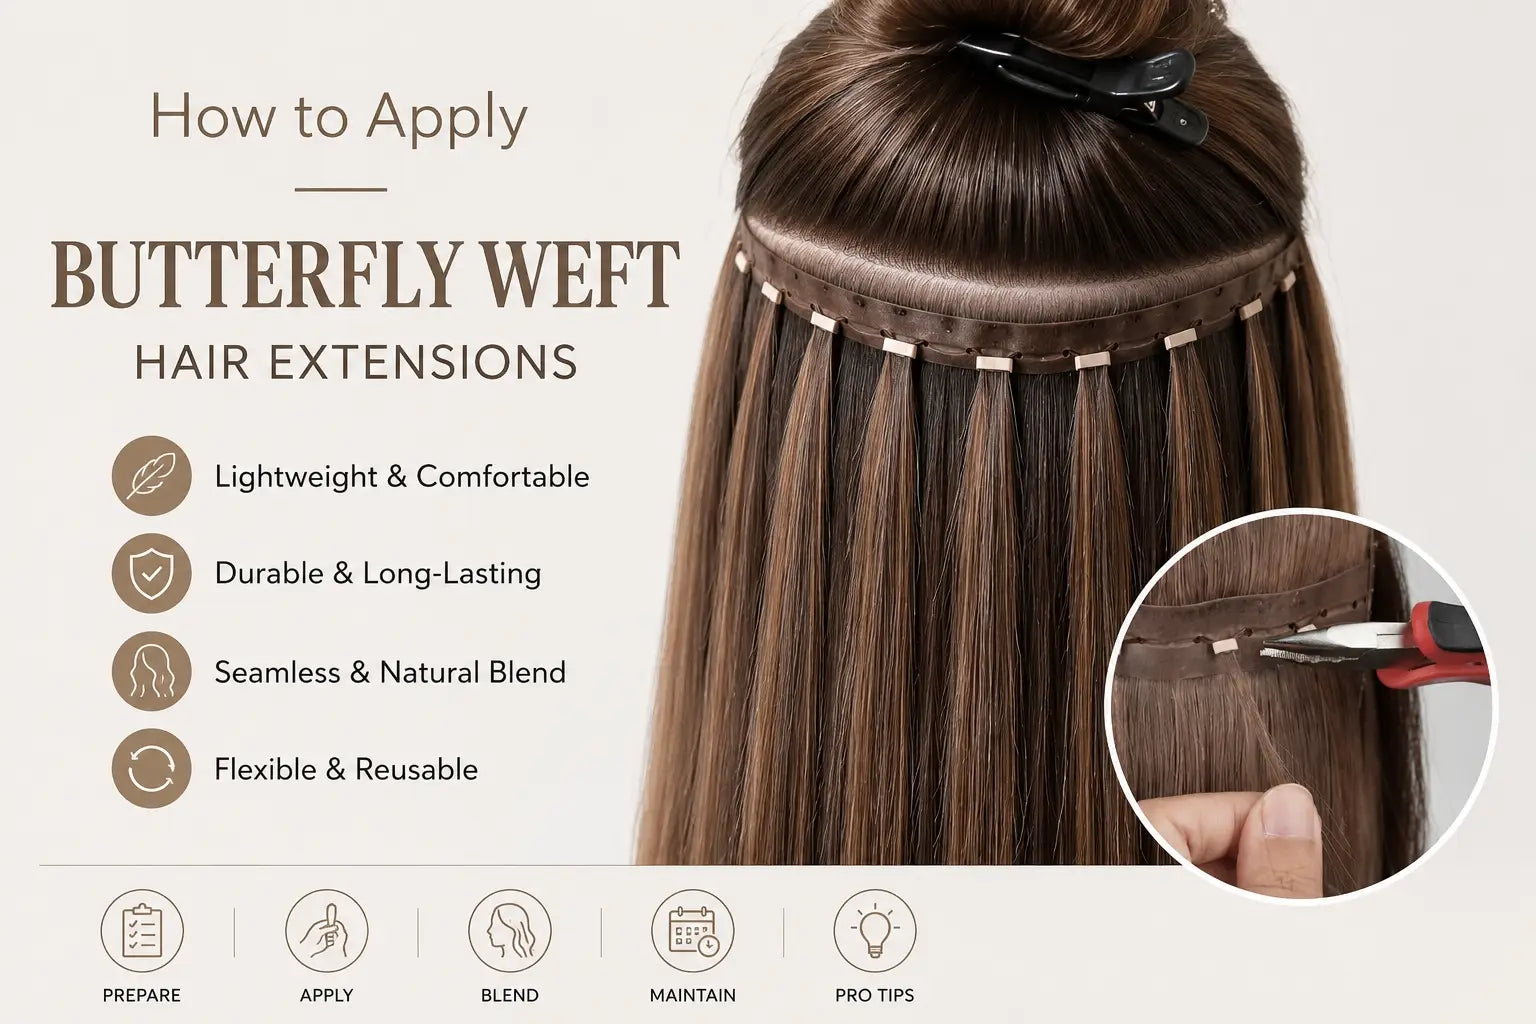
Butterfly Weft Installation – Perforation + Micro Ring Method
It is especially popular among clients who want invisible results without bulky tracks.

1. Section the Hair
Start by creating a clean horizontal parting at the nape of the neck.
Clip the upper hair away to keep the section neat and controlled.
This will be your first installation row.
2. Prepare the Butterfly Weft
Measure the Butterfly Weft against the section and cut it to the desired width.
Make sure the weft sits flat and matches the head shape without tension.
3. Create the Base Using Pull-Through (Perforation)
Using a loop hook needle, gently pick a small, thin strand of natural hair from the sectioned row.
Pull the strand through one of the small holes in the Butterfly Weft.
Take consistent, even sections for a clean row
Avoid pulling too much hair (keep it lightweight and natural-looking)
4. Add the Micro Ring
Take the two adjacent strands of natural hair that have been pulled through neighboring holes.
Insert both strands into a micro ring.
Ensure both strands are evenly distributed inside the ring
Keep tension controlled but not too tight
5. Secure the Micro Ring
Use pliers to clamp the micro ring firmly until it is completely closed.
This locks the natural hair and the weft securely in place.
Check that the ring is flat and not slipping
Ensure comfort for the scalp (no pulling sensation)
6. Repeat Across the Row
Continue the same process across the entire section:
Hook hair through each perforation
Pair neighboring strands
Insert into micro rings
Clamp securely
Maintain even spacing for a smooth and invisible result.
7. Release the Weft Layer
Once the full row is completed, gently release the top layer of hair.
The Butterfly Weft should now be hidden under a seamless layer of natural hair.
8. Build Additional Rows (if needed)
Repeat the same steps for additional rows moving upward:
Maintain proper horizontal sectioning
Ensure each row is evenly spaced
Blend for a natural layered effect
9. Final Check & Blending
After installation is complete:
Check all micro rings for security
Ensure weft lies flat without bumps
Blend natural hair with extensions for a seamless finish
Style as desired
