


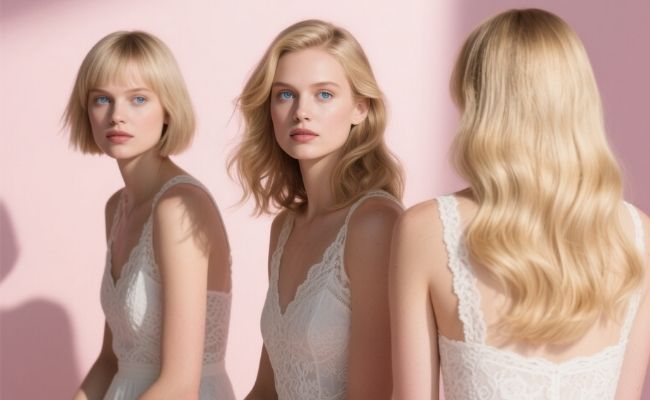


Table of Contents
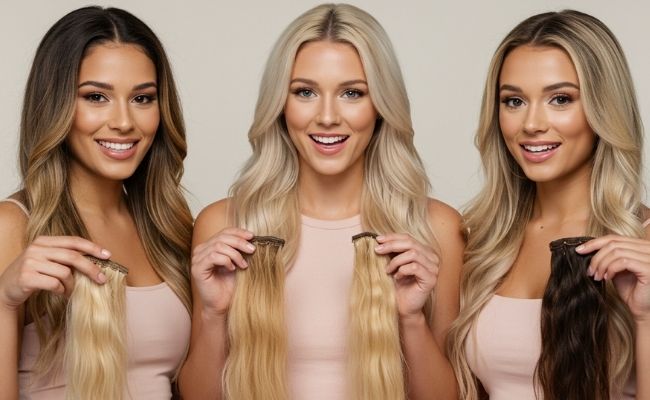
The same points of the three hair extensions
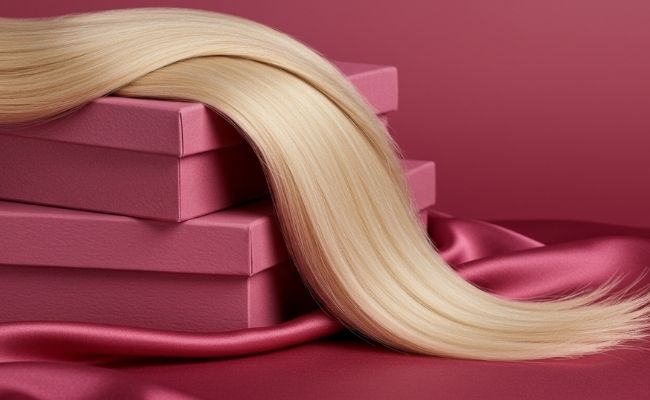
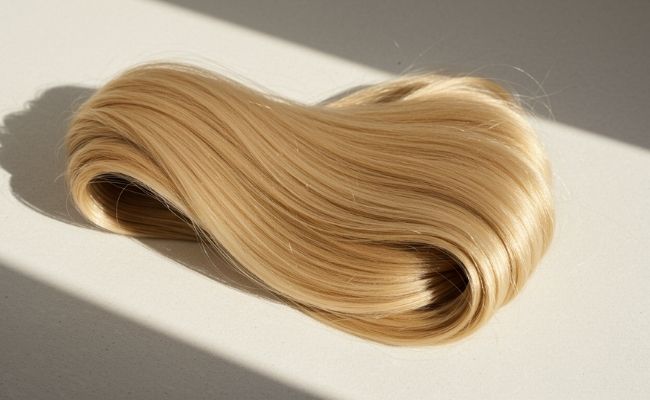
1.100% Human Hair.
2.Can only be dyed darker color, can't be bleached to lighter color.
3.Can be curled, straightened, washed, and cut.
4.1g/strand, 25g per one package, 100-150 strands for full head attachment.
5.Last time:10-12 months(depending on care and usage)
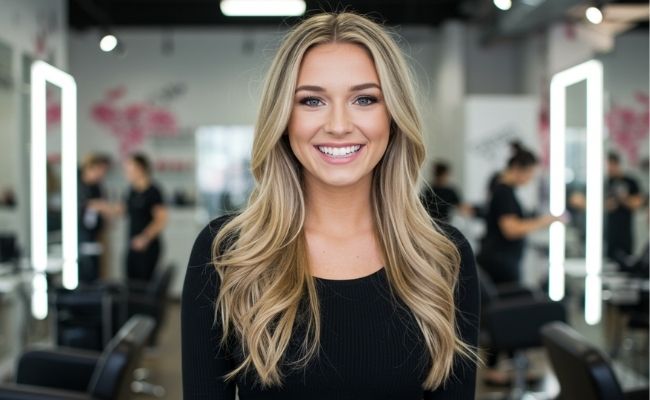
6.High quality:No shedding No tangle Soft smooth hair.
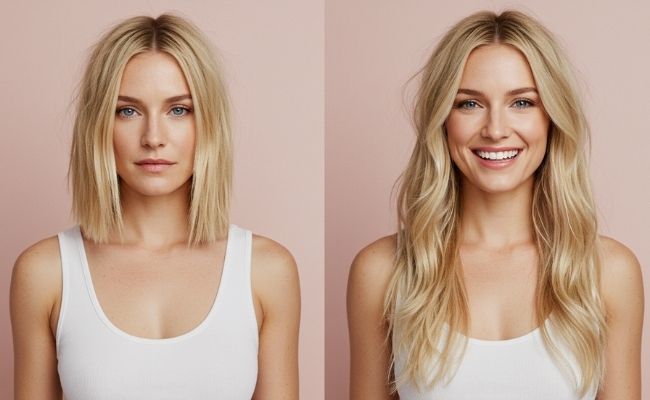
7.Look and feel natural. blend in with your hair. You can style them in any way you like.
8.The keratin is transparent, glue well with your hair, undetectable and comfortable.
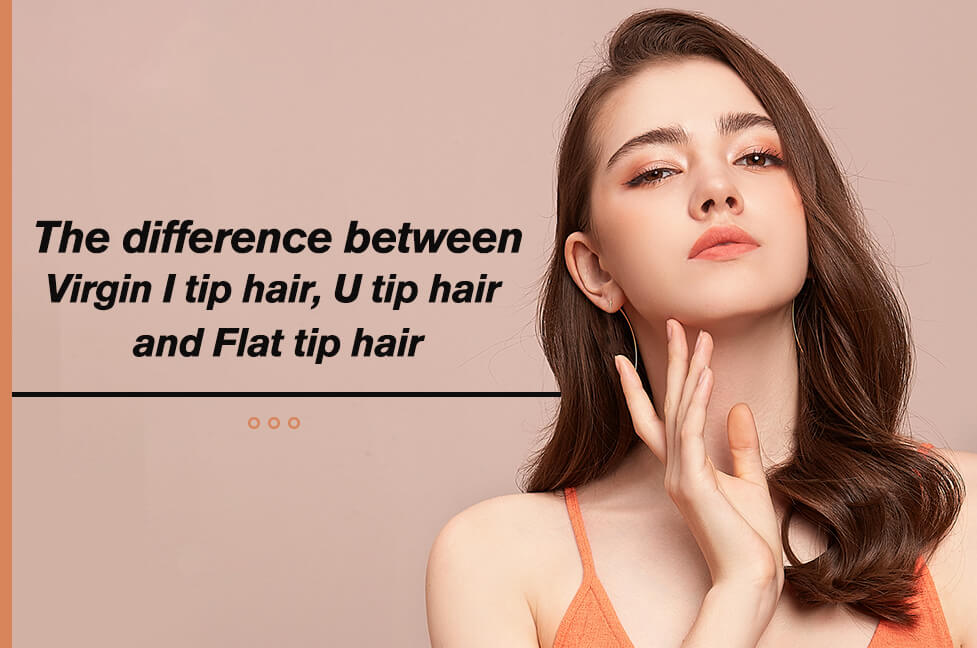
The difference between the three hair extensions
【I Tip】Cold fusion hair extensions, No heating is required, install firmly, harmless to hair and scalp, very covert.

【U Tip】YoungSee hair extensions u tip human hair has a "u" shape, it is use of hot fusion, keratin glue is gentle for hair and provide a long lasting bonding. The u-tip attachment is thin and virtually undetectable.

【Flat Tip】 Hot fusion pre bonded human hair extensions:A newer form of pre-bonded extensions,use of hot fusion for long-term attachment. Flat and thin shape,not easy to detect.Feel soft,covert and natural after using.

How to choose the hair extension that suits you


How to apply the three Pre-bonded hair?

Step 1: Separate the hair into two parts.
Step 2: Insert separator at root to protect your scalp,pull hair through hole of separator.
Step 3: With deticated receiver melt glue head with hair,then fix 5 seconds,melted the plastic head completely.
Step 4: Roll the glue between your fingers till the glue becomes cylindrical securing the extension in place.
Step 5: Repeat until you have achieved the desire result.
TIPS: If you are unsure about doing this process at home ,we highly recommened you go to a professional salon to do it.

